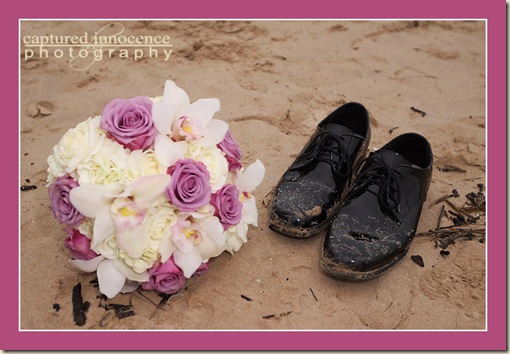
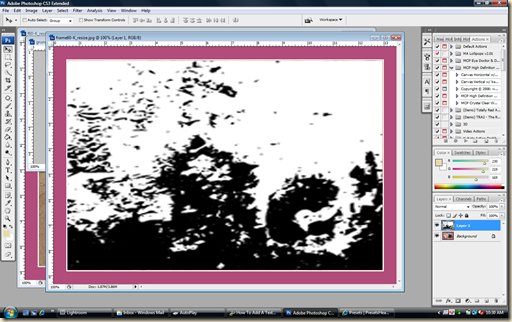
There is one thing you need to know right off the bat about Photoshop, and that is, if there is one way to do something, then there are probably at least half a dozen other ways as well. The same is true for adding a texture layer to an image. I just did this image up quickly this morning, so it’s not necessarily the best options, but the possibilities are endless. Textures can make an amazing addition to your images, to see some incredible examples of this check out Matt Nicolosi’s work and including his Firenze Italian Collection of textures available for purchase.
Here’s how:
1. open your image by clicking File, Open, and choosing an image from your folder.
2. Open a texture image in a separate window and using the move tool slide this image over your original image. (You can also add a texture simply by running an action)
3. Now set this new layer to Overlay (currently set as default “Normal) and adjust your opacity and flow to your liking.


No comments:
Post a Comment
Thank you for your comments!